-
iOS - textViewiOS 2020. 12. 14. 12:43
textView

textView는 attribute inspector에서 여러가지 속성들을 설정할 수 있다.
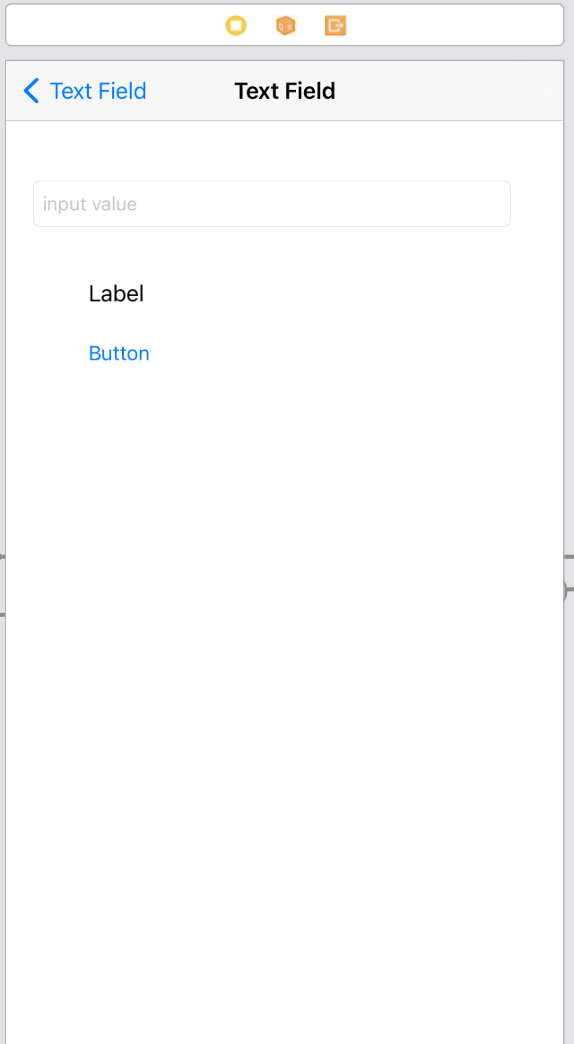
textField에 값을 입력하고 버튼을 누르면 Label에 입력한 값이 출력하게 하는 코드
import UIKit

class TextFieldViewController: UIViewController {


    @IBOutlet weak var inputField: UITextField!

    @IBOutlet weak var valueLabel: UILabel!

    @IBAction func report(_ sender: Any) {

	   // text속성으로 입력된 값을 읽어 온다는 것을 기억하자
        guard let input = inputField.text, input.count > 0
        else{
            return
        }

        valueLabel.text = input
    }

    override func viewDidLoad() {
      super.viewDidLoad()
        inputField.placeholder = "lee jae ho"

   }
}
textField는 3가지 스타일이 있다.
1. Round
- 밑에 사진처럼 높이가 고정이기 때문에 높이 조절점은 없고 넓이 조절점만 있다.
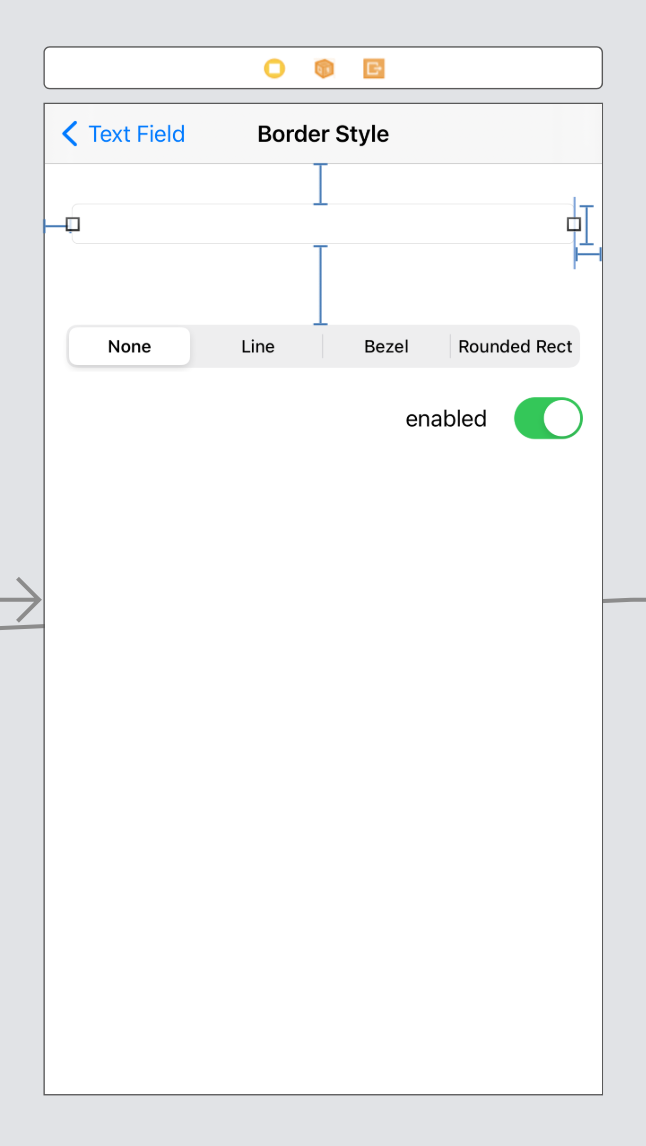

2. Bezel
- 둥근 모서리가 없어지고 높이 조절이 가능하게됨
3. line
- Bezel과 큰 차이점이 없음
4. none
- border가 생략된다 (주로 custom 타입에서 사용된다.)
Segmented Control을 통해서 스타일을 선택하도록 구현
import UIKit

class TextFieldBorderStyleViewController: UIViewController {

   @IBOutlet weak var inputField: UITextField!

   @IBOutlet weak var borderStyleControl: UISegmentedControl!

   @IBAction func borderStyleChanged(_ sender: UISegmentedControl) {


    let index = sender.selectedSegmentIndex

    // borderStyle은 UITextBorderStyle 열거형으로 선언되어 있다.
    // Segmented의 index값을 UITextBorderStyle 열거형으로 바꾸고
    // borderStyle 속성에 설정하고 있다.

    let style = UITextBorderStyle(rawValue: index) ?? .roundedRect
    inputField.borderStyle = style
   }


   @IBOutlet weak var enabledSwitch: UISwitch!

   @IBAction func toggleEnabled(_ sender: UISwitch) {
      inputField.isEnabled = sender.isOn
   }


   override func viewDidLoad() {
      super.viewDidLoad()

      borderStyleControl.selectedSegmentIndex = inputField.borderStyle.rawValue
   }
}
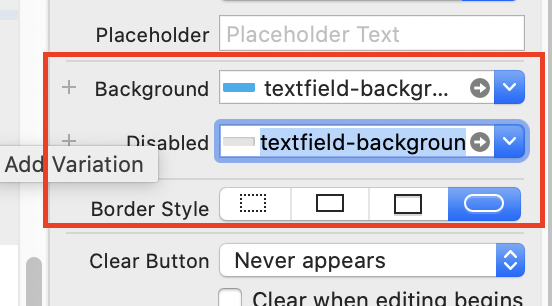
textField의 Background 속성과 Disabled 속성은 Border Style에 영향을 받는다.
* Round 는 Background, Disabled 속성에 영향을 받지 않고 나머지는 영향을 받는다.
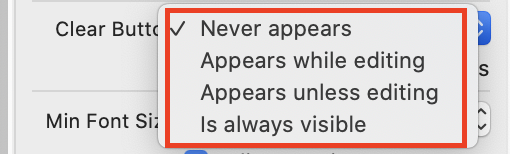
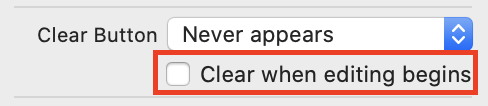
Clear When editing begins 체크하면 편집모드가 실행될때 입력된 값이 있다면 삭제된다.
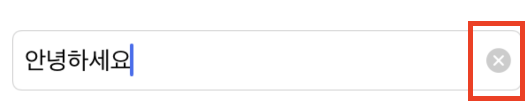
삭제버튼처럼 텍스트내부에 표시되는 view를 overlay View라고 한다.
textField는 왼쪽과 오른쪽에 각각 하나씩 overlay View를 추가할 수 있다.
인터페이스 빌더에서는 삭제버튼의 표시방식만 표시할수 있고 직접 오버레이 뷰를 추가하려면 코드를통해 추가해야 한다.
왼쪽에 버튼을 오버레이뷰로 추가하고 버튼을 탭하면 목록에서 값을 선택해서 입력하도록 구현해보자
import UIKit

class TextFieldOverlayViewViewController: UIViewController {

   @IBOutlet weak var inputField: UITextField!


    // 목록을 표시하는 메소드
   @objc func showPredefinedValue() {
      let sheet = UIAlertController(title: nil, message: nil, preferredStyle: .actionSheet)

      let one = UIAlertAction(title: "One", style: .default) { (action) in
         self.inputField.text = action.title
      }
      sheet.addAction(one)

      let two = UIAlertAction(title: "Two", style: .default) { (action) in
         self.inputField.text = action.title
      }
      sheet.addAction(two)

      let three = UIAlertAction(title: "Three", style: .default) { (action) in
         self.inputField.text = action.title
      }
      sheet.addAction(three)

      let cancel = UIAlertAction(title: "Cancel", style: .destructive, handler: nil)
      sheet.addAction(cancel)

      present(sheet, animated: true, completion: nil)
   }


   // image 리터럴 추가하는 방식은 그냥 image Literal 치면 나옴
   override func viewDidLoad() {
      super.viewDidLoad()
         // 버튼을 하나 만들고 showPredefinedValue 메소드와 연결
    let btn = UIButton(type: .custom)
    btn.frame = CGRect(x: 0, y: 0, width: 20, height: 20)
    btn.setImage(#imageLiteral(resourceName: "menu"), for: .normal)
    btn.addTarget(self, action: #selector(showPredefinedValue), for: .touchUpInside)


    // overaly view를 설정할때는 left view 속성과 right view속성을 사용한다.
    // 우리는 왼쪽에 표시할거기 때문에 left view속성을 사용
    // leftView가 UIView 속성이기 때문에
    // UIView를 상속한 모든 컨트롤을 할당할 수 있다.
    inputField.leftView = btn

    // overlay view를 설정했다면 viewMode도 함께 설정해야 한다.
    inputField.leftViewMode = .always

    // 이렇게하면 왼쪽 overlay View가 항상 표시된다.

   }


}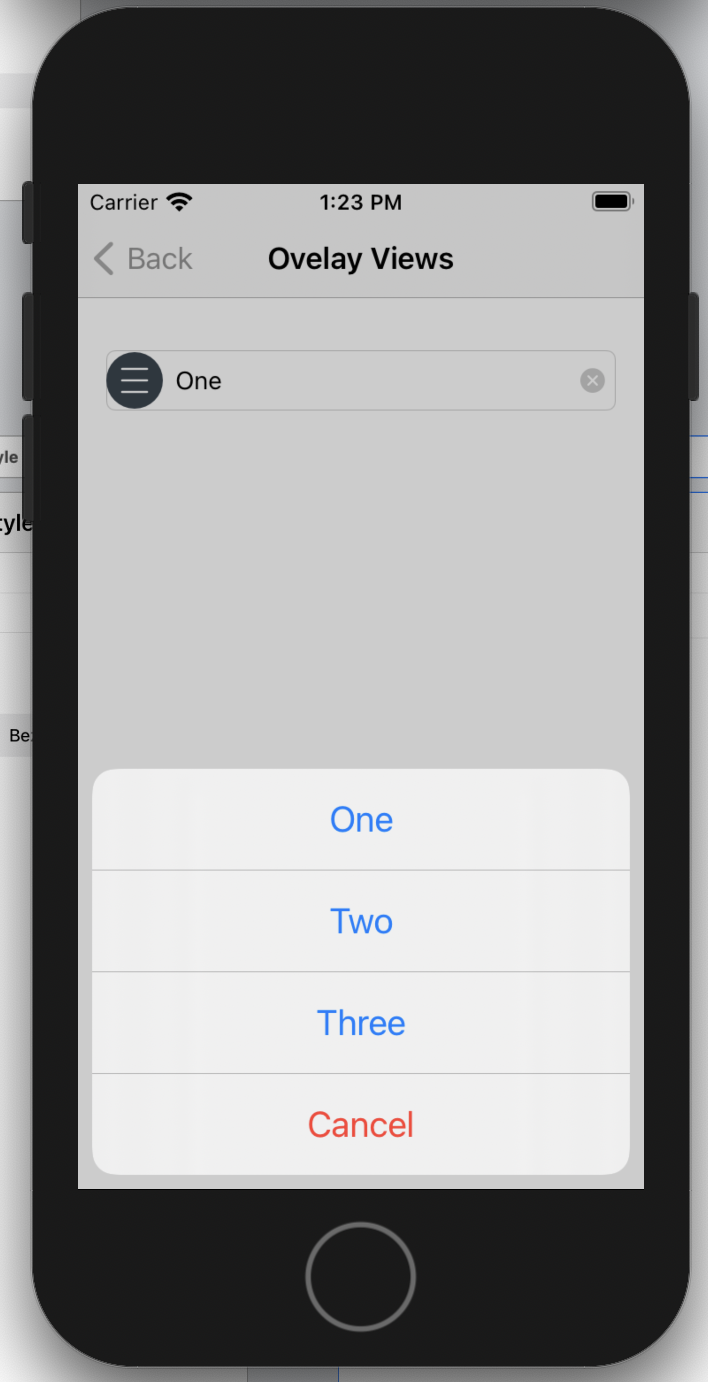
요롷게 잘 실행이 된다~
'iOS' 카테고리의 다른 글
iOS - Remote Notification (0) 2020.12.14 iOS - Local Notification (0) 2020.12.14 iOS - Button (0) 2020.12.11 iOS - UserDefaults (0) 2020.12.04 iOS - 개발 로드맵 (0) 2020.12.03